Avoid Injuries When working With Safes: Part 1

Moving safes can be dangerous.  You should not attempt to move large units, like gun safes, unless you have experience with this kind of task.  It is not uncommon for people to be injured when moving a safe.  We are occasionally called to stand up a safe that has fallen over when it was being handled by inexperienced people.  Usually, their new safe is now scratched up and ugly.  Frequently it also then needs to be professionally drilled open and have a new lock installed.  The safe on which they “got a good deal” has now cost them dearly.

Several tips for moving a heavy safe:

1)  Having too many people around can cause distractions, increasing the likelihood of accidents.

2)  Take lots of time to think through all the issues and risks – hurrying can cause accidents.

3)  Rolling a safe across the floor on golf balls sounds like a good idea, but has been the cause of many accidents.  Trying to slide a safe on blocks of ice is really dangerous.  Use pipes instead.

4)  When moving a safe by pallet jack, forklift, crane, etc., be alert and stand far enough away that the safe cannot possibly reach you if it falls.

CRANE LIFT 051 (427x640)

5)  If the safe wants to fall, especially a tall one, don’t be a hero.  Don’t try to stop it, let it fall.  Paying to have it repaired is cheaper and less painful than broken bones.

6)  We normally advise not taking the door off to lighten the safe.  Dropping the door on your foot could cause a serious injury.  A heavy, tall, awkward safe door can catch you off guard and knock you over.  (You will probably also damage the paint trying to put the door back on its hinges.)

7)  When taking a heavy unit downstairs be EXTREMELY CAUTIOUS.  Consider standing at the top of the stairs and slowly lowering it with straps.  Consider reinforcing the staircase from underneath.

8)  Best advice:  Pay to hire professionals.

Too many people are injured, or damage their safe, or damage their home when doing work they should not attempt.  Buy you safe from a dealer that offers delivery service.
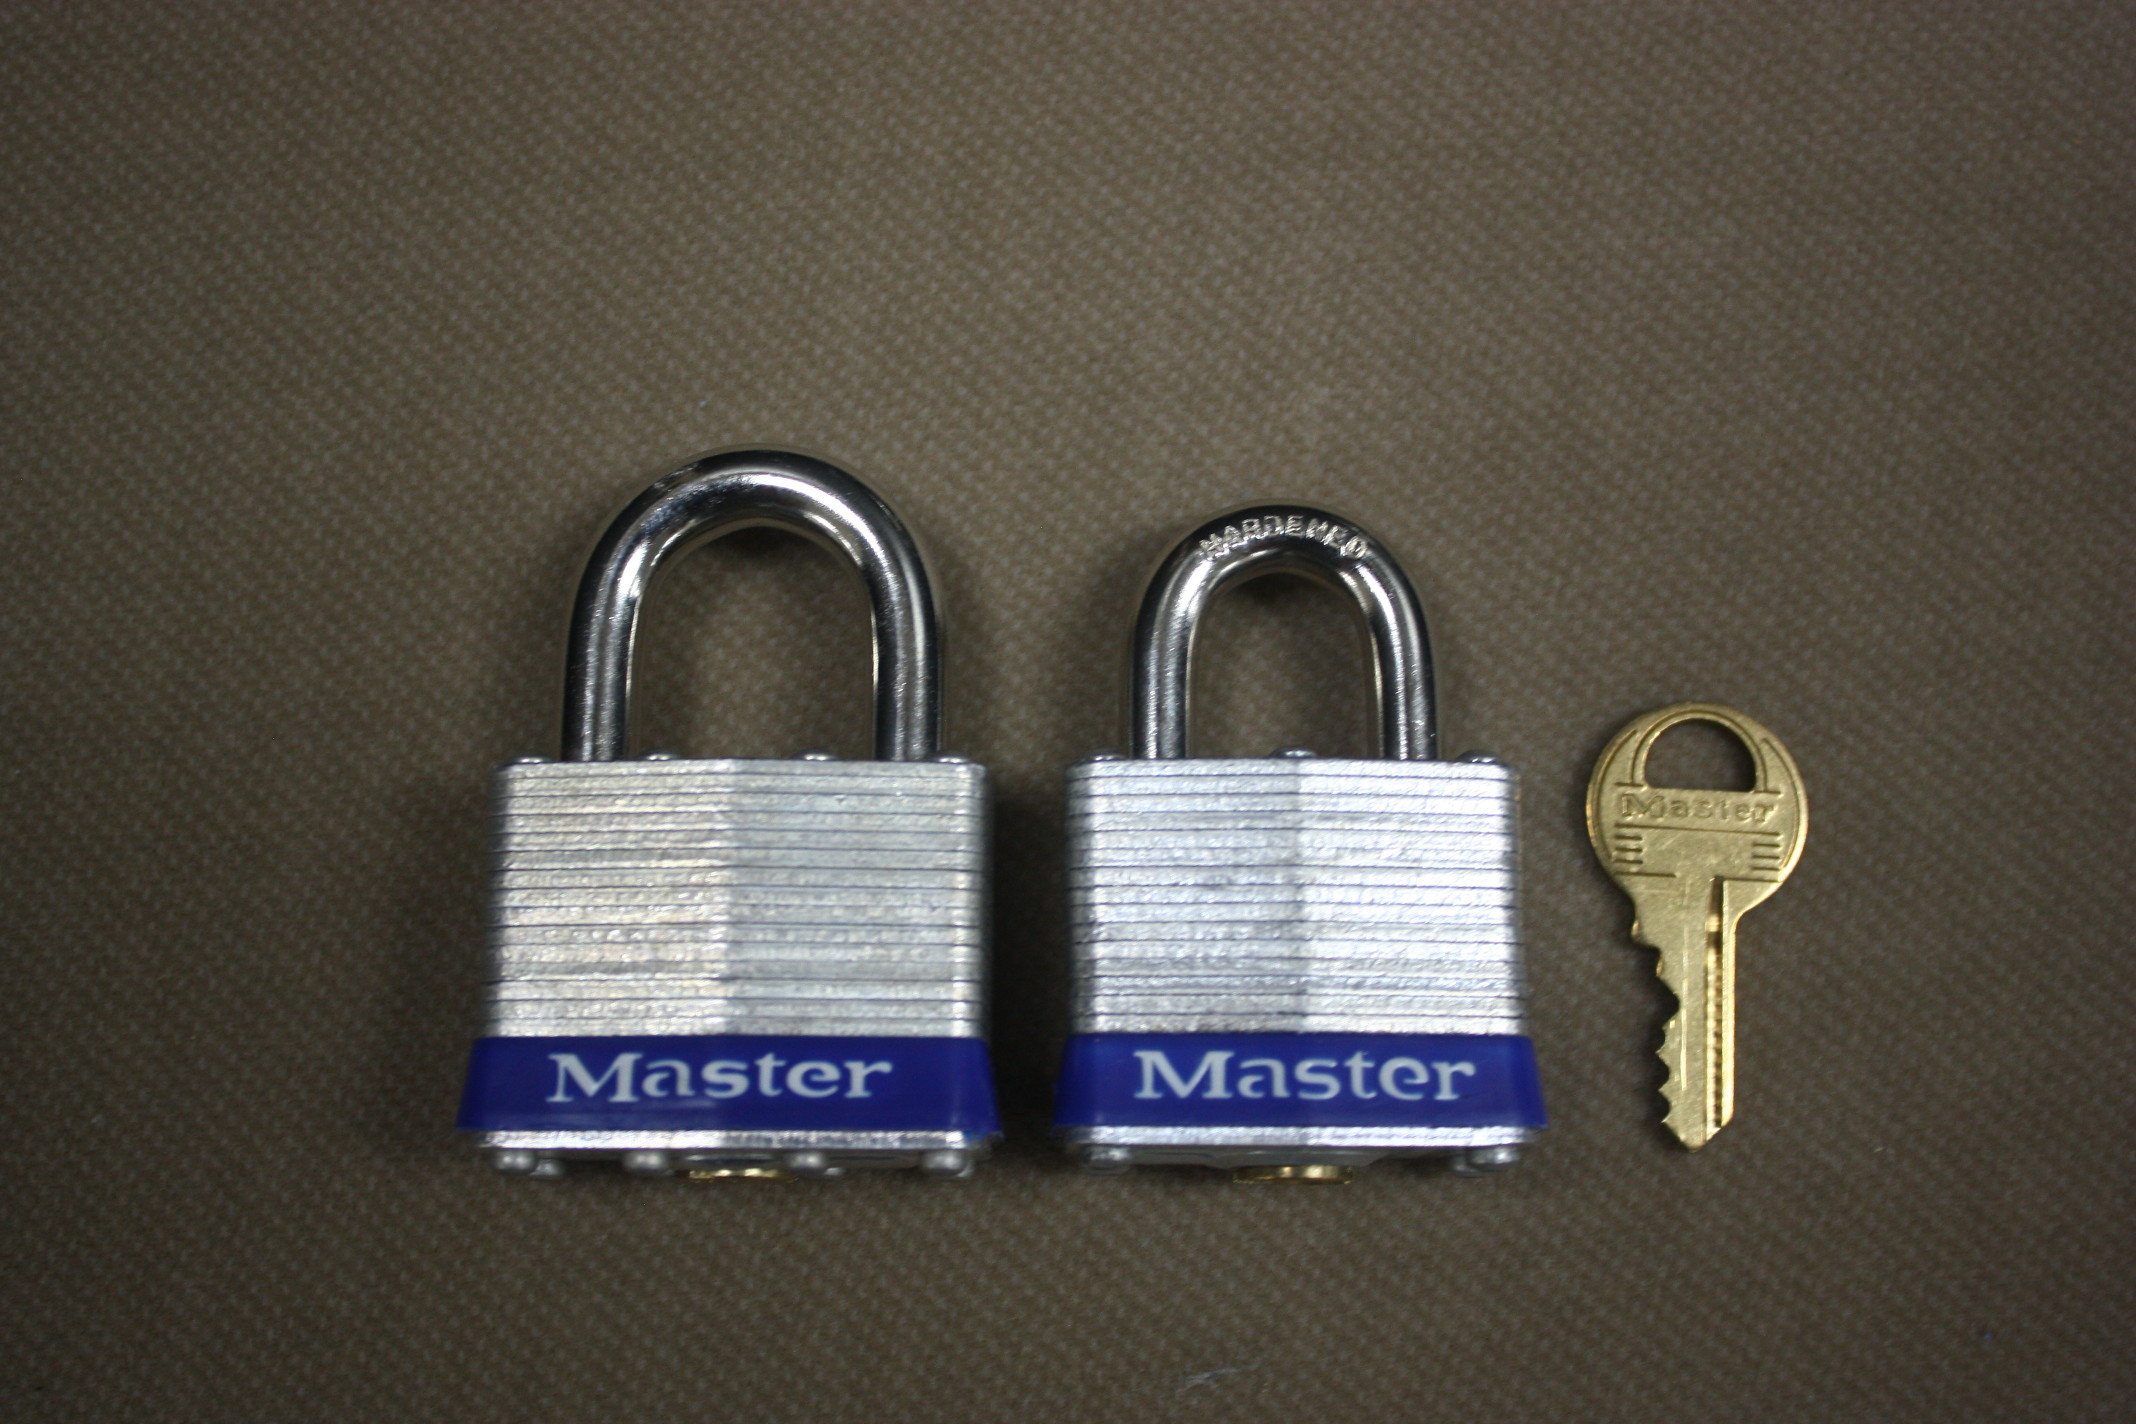
Laminated Padlocks

Everyone is familiar with simple laminated padlocks.  Pictured are Master’s models #1 and #3, the most common padlocks in the world.  Master makes them by the million.  They have many variations – larger, smaller, longer or thicker shackles, all brass for use in corrosive environments, plastic covers, etc.  Other manufacturers copy them in large numbers as well.

Blog, Padlocks 001

These locks are a good value and suitable for numerous applications.  It is worth knowing their limitations, however.  For starters, most have case hardened shackles which are fairly easy to cut.  On some Chinese knock-offs, the shackles are not hardened at all.  Shackles that are completely hardened offer more security.

Another issue is that probably 95% of these locks use the same type key, the Master M1 key blank (or a copy of it).  Without getting very technical here, there are only four cuts on these keys, and seven different cut depths.  This means that there are only about 2400 possible combinations of cuts – not very many.  For comparison, the standard Schlage house key has five cuts and ten different cut depths, so there are 100,000 different ways to cut their keys.  In addition, because of the way padlocks are sold into some markets certain combinations of cuts are sold in very large numbers.  With only four cuts, locks using the M1 keys are relatively easy to pick open or “bump” open – especially the cheap knock-offs.  And there are additional tricks that can make these locks vulnerable to being opened by the wrong people.

If you need a padlock that offers high security there are better choices, by Master and others.  Invest a little more money to get locks with more cuts on the keys, with shackles that are hardened throughout, with shackles that are protected from cutting tools or even with lock bodies made from different materials.  Go to a good lock shop to learn more and see a wide variety of products.

Note:  the names Master and Schlage are registered trademarks.

The Best Way to Install a Safe

We are frequently asked whether it is best to install a safe flat on the floor or to raise it up off the floor to provide air circulation.  Since each method involves trade-offs, the “Best” method depends on your situation and your primary concern.

If security is the only issue the safe should be flat on the floor, bolted down.  But won’t that cause rust and stain the floor if there is no air circulation?  Very possibly, depending on the type of floor and how well the bottom of the safe is primed or painted.  Most residential safes are primed, but some companies do a poor job of it.  Sliding the safe across rough surfaces will scrape off primer, making rust more likely.   The primer itself may stain.  So just make the assumption that the floor will get stained.  Then decide whether the potential of burglars removing your safe is more important than the risk of a discolored floor.

If the safe is going into a basement which has a history of water problems, I recommend elevating it on 4” x 4” or 4” x 6” wood.  Putting the safe on concrete blocks will lift it even higher.  These arrangements will be functional but they won’t look great.  IMPORTANT:  When elevating a safe make sure it is supported right out to the front edge or the safe may fall forward when the door is opened!  This is especially true with tall units like gun safes.  Note that raising the safe makes bolting it down pointless — the open space allows pry bars or pallet jacks underneath which can pull the bolts right out of the floor.  We often use hockey pucks or thin strips of wood to create a ventilation space underneath.  Hockey pucks even look good.  But this small space makes a great home for mice and bugs.

Blog, Install safes 002Blog, Install safes 004

Finished hardwood floors are easily scratched when maneuvering a safe into place.  Here are two things that work out well:  Put the safe on a piece of up-side-down carpet, soft side to the floor.  The safe will slide easily into place and it won’t scratch the floor.  Four thick felt pads under the safe will accomplish the same thing.  But be careful using pads because some safes are bowed on the bottom and the middle might still scrape the floor.

f you are not concerned about someone removing your safe, and you do not want the floor stained, and you don’t want to create a home for small critters, and you want it to look nice, buy a 4” high carpeted pedestal.  We sell them for $70.

Relock Devices: Other Types

There are a number of less common types of re-locker devices.  For example, high-security safes sometimes come with ”glass relockers”.  There is typically a piece of tempered glass with two holes in it, and wires under spring tension are hooked into the holes.  If a person pounds on the lock it will shatter the glass, causing the relock pin to snap into place, which blocks the safe boltworks from being forced open.  Hitting the glass with a drill bit will also break the glass.

Thermal relockers are found only on high end, high-security safes.  Normally there is a piece of metal or a soldered piece in a wire arrangement, all under spring pressure.  The metal melts at a very low temperature, maybe 250 degrees.  Heat generated from a torch, or even from extensive grinding, will melt the metal which sets off the relocker.

Relockers, Graffunder 003

Some relockers do not actually block the boltworks from moving.  On some units firing a relocker causes a heavy bolt to shoot out from the door, behind the frame of the safe.  This is great way of keeping the door from being forced open.  The photo shows a unique system:  The relock can be fired either by an attack on the lock, by a torch cutting through the cable, or by melting the soldered thermal joint just above the lock encasement.  When set off this is actually a double relocker.  One part (not shown) blocks the right side boltworks from moving.   The vertical bolt shoots out about an inch — this is accomplished with a heavy spring which can’t be seen here.  It is then behind the door opening of the safe body where it very stubbornly keeps the safe door closed.

Once again, only experienced safe technicians should work on your safe.  Inexperienced technicians may accidentally set off a relocker, perhaps costing you hundreds of dollars.

Relock Devices: External Relockers

External relockers are located outside the lock body, but usually right next to it, inside the safe door. The external relocker stops the transfer bars from moving, so that the safe bolts cannot be forced back by a burglar into the unlocked position. Two variations of the most common arrangement are shown below.

External Relockers 002External Relockers 005


If someone pounds on the dial enough so that the dial spindle drives the lock or lock cover backward, then it releases the spring-loaded relock bolt.  On some safes (picture on right) it will block the cam from moving by dropping behind the cam or into a notch on the cam.  Safes that use gear drives rather than cams will be different.  On the gear drive Fort Knox on the left , the relock bolt goes behind a block welded to the transfer bar.  Some safes have a notch in the transfer bar into which the relocker goes.  A qualified safe technician will be required to open a safe after an external relocker has been set off.

Interesting note:  The safe on the right is a popular brand that we will not sell, and the relocker is not assembled properly.  The lock cover plate is installed so that the roll pin rests on top of it, rather than being fit into a hole in the plate where it is supposed to be.  I guess it takes too long to make the parts fit correctly.

When buying a safe make sure it has an internal relocker.  Most cheap safes, especially Chinese made safes, do not have them.